Wednesday, December 3, 2014

Koolaid yarn and more knitting adventures

Did you see the orange hat in the last post? That's one of H's favorites right now, and I made it up on my knitting machine.

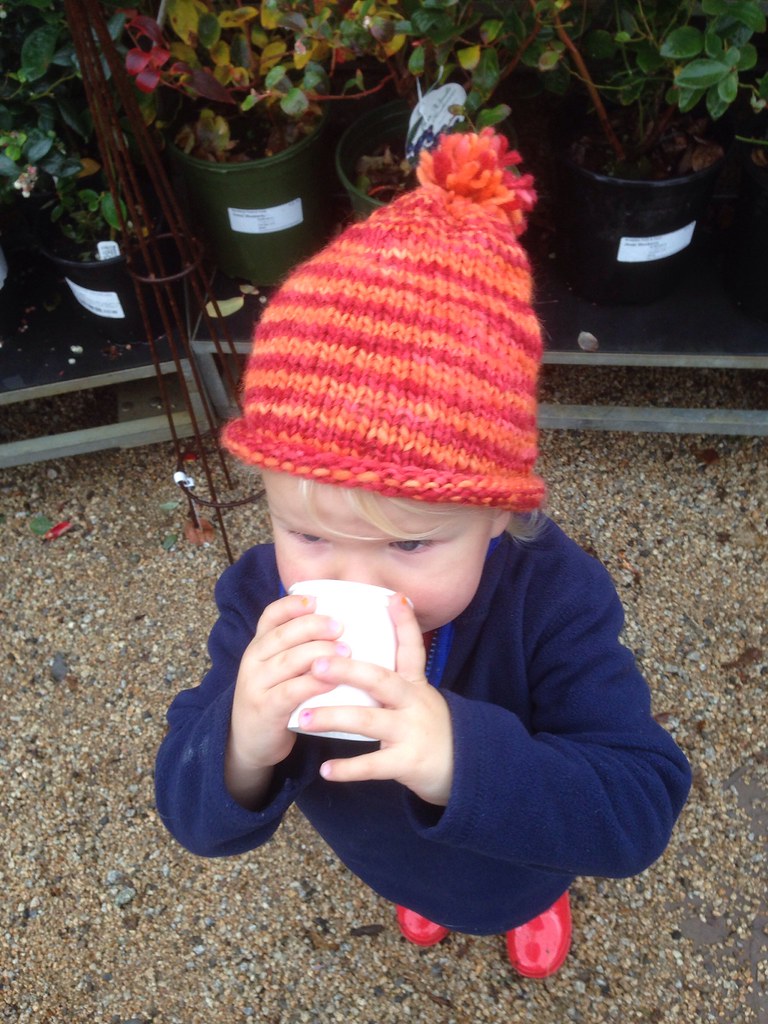
I can't believe it's been two years since I dyed that wool. I found the post about it here.

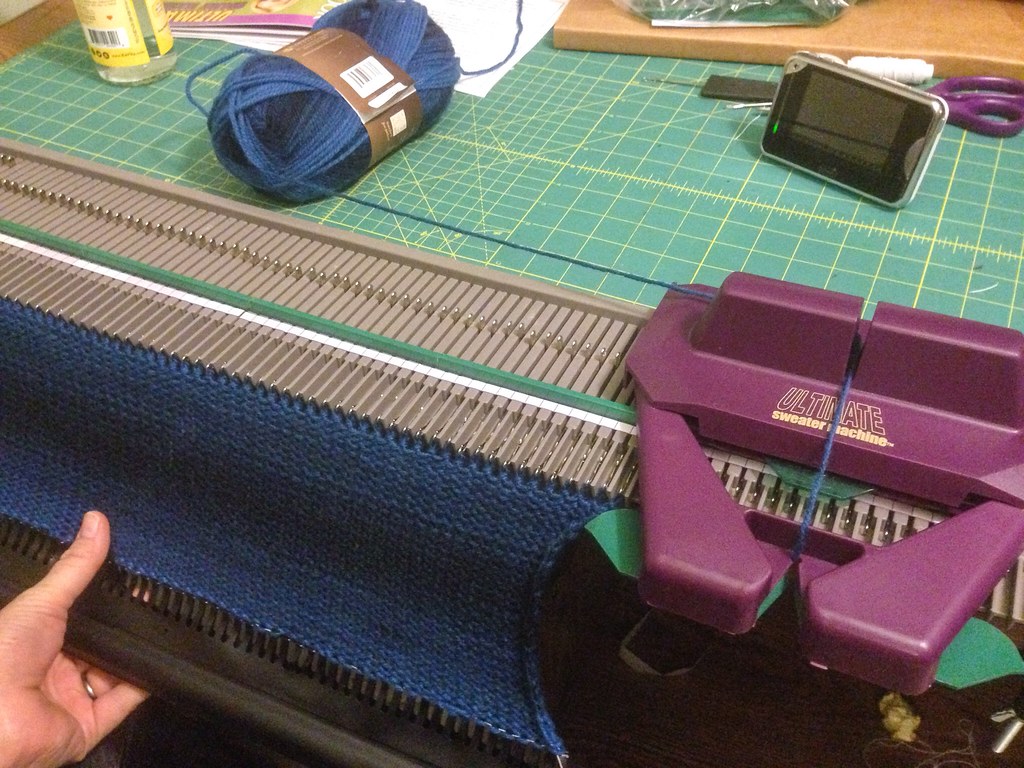
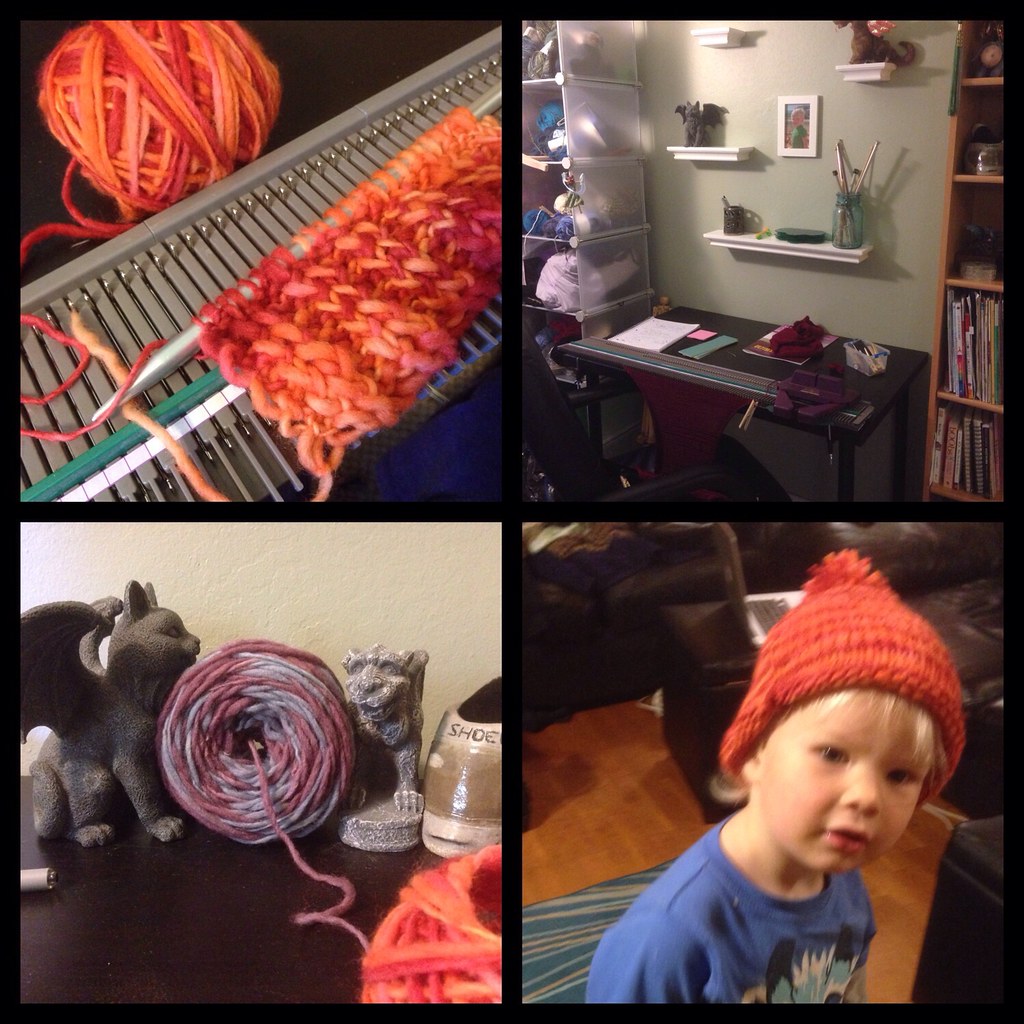
I had stated some hand knitting with the orange one, and decided to pull it out for a hat. The knitting machine has it's own table now, which is awesome. I put the stone gargoyles to work holding my yarn in place :)


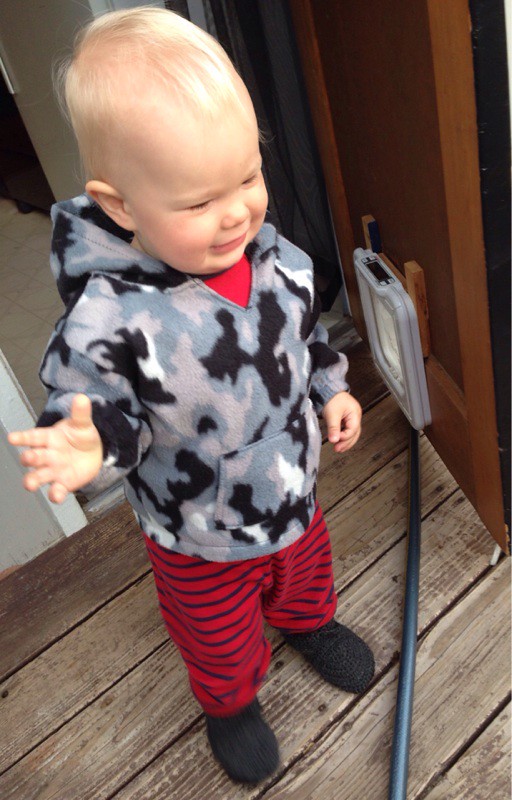
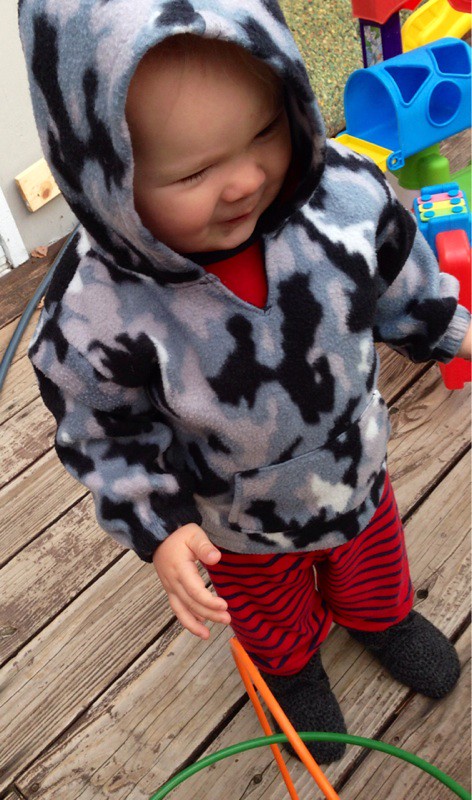
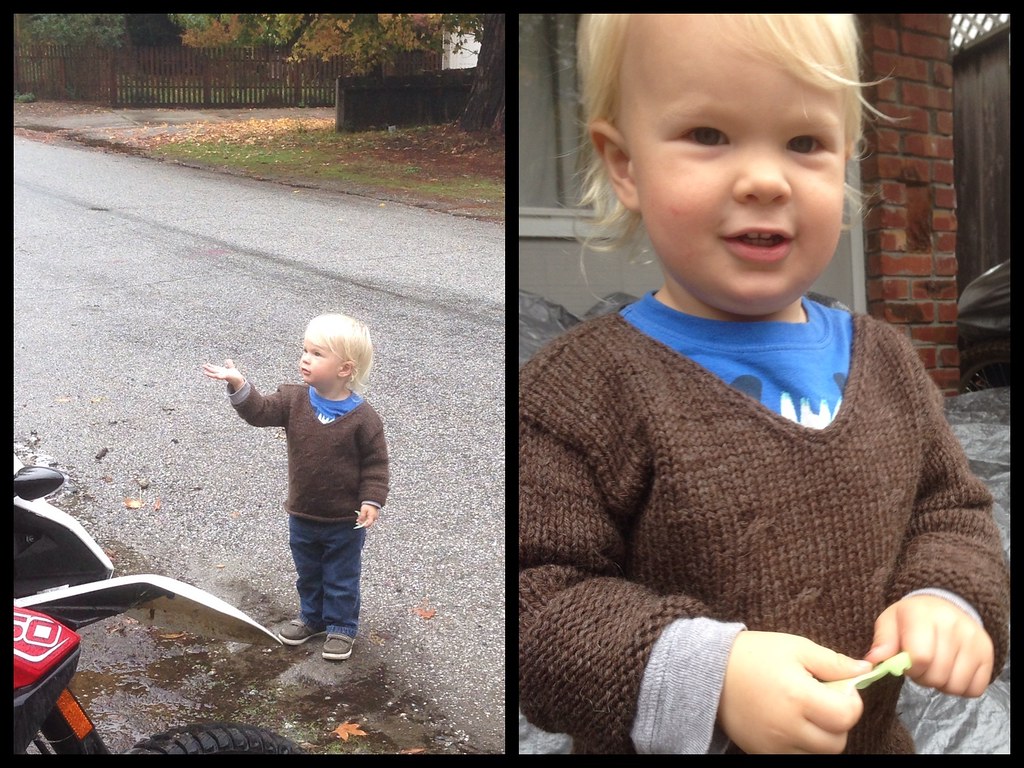
I managed to make a sweater for our little guy. It's all blocky and such, but I think it's cute, and I learned a lot while making it. Unfortunately it's a little scratchy and he doesn't want to wear it anymore. Good thing it's roomy, and maybe I can convince him to wear it over a long sleeve shirt again sometime.

I got a little creative trying to pin up the weighted hem. See the loopy blue stitches in the first pic? I've since figured out how to clip it correctly. The second pic is stitching the sleeves together, and the last one is before it was blocked and sewn together. It looks pretty silly there.


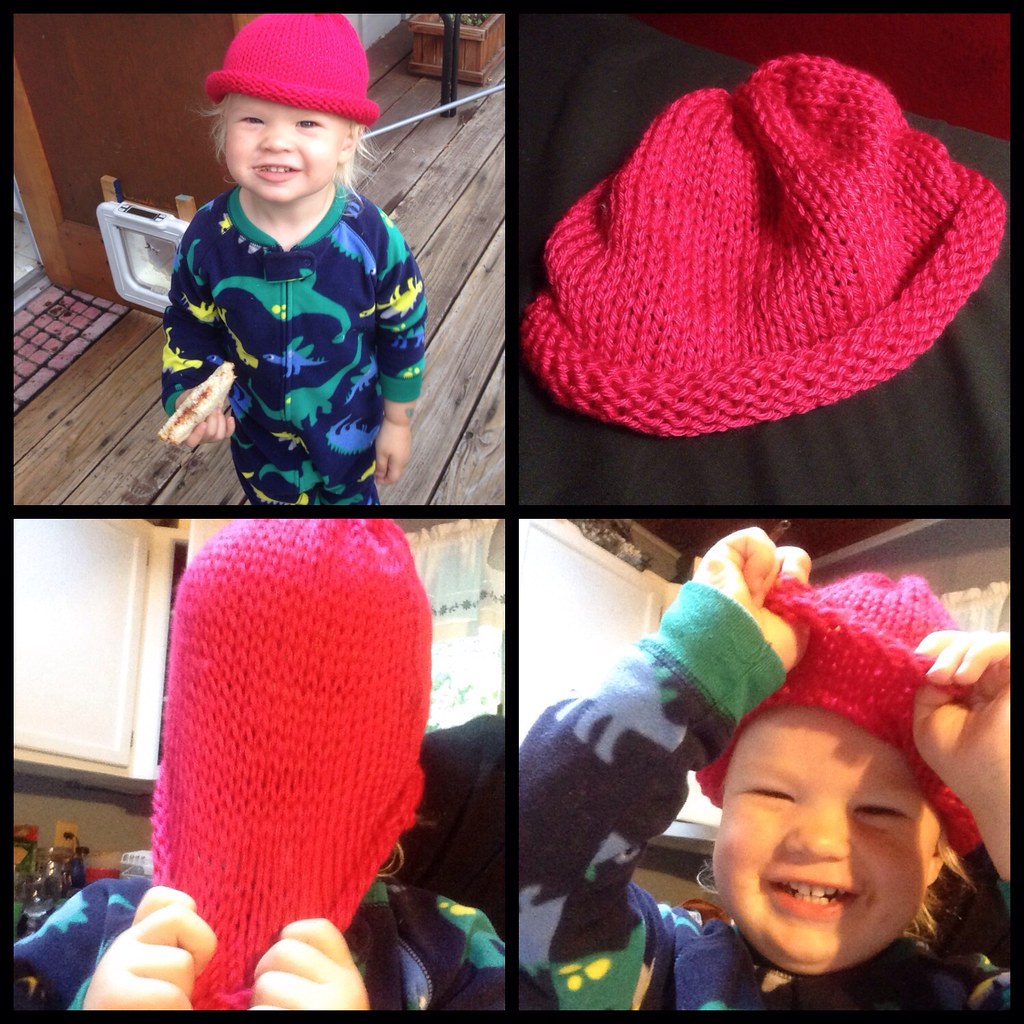
Soon I'll make myself a sweater, but for now I've been making more hats.


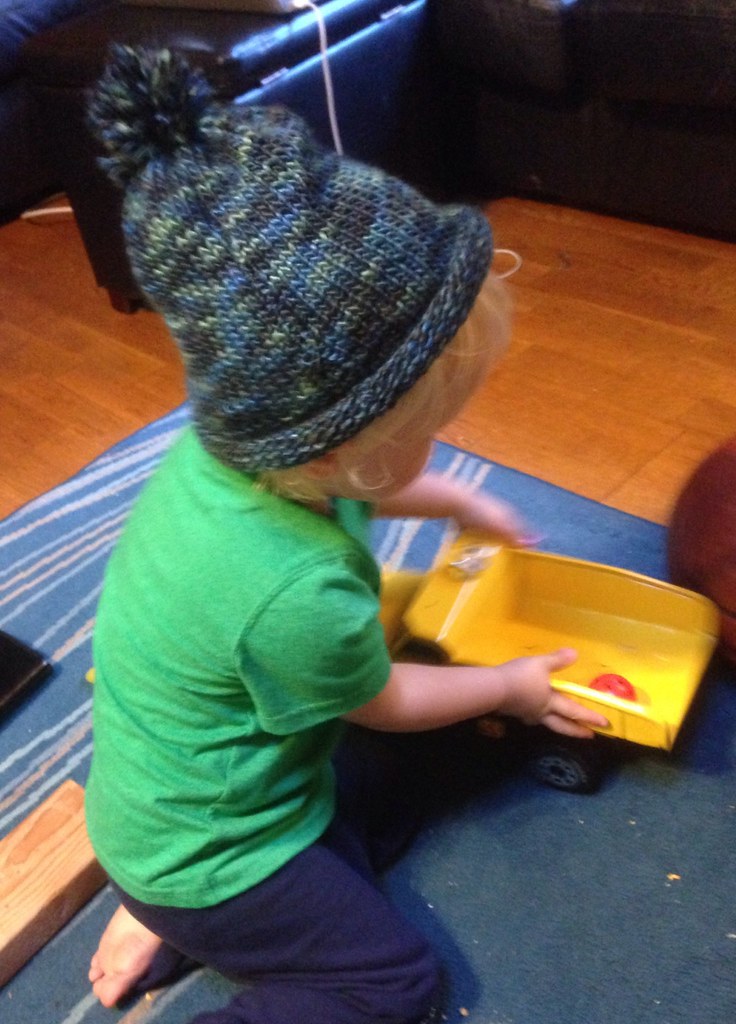
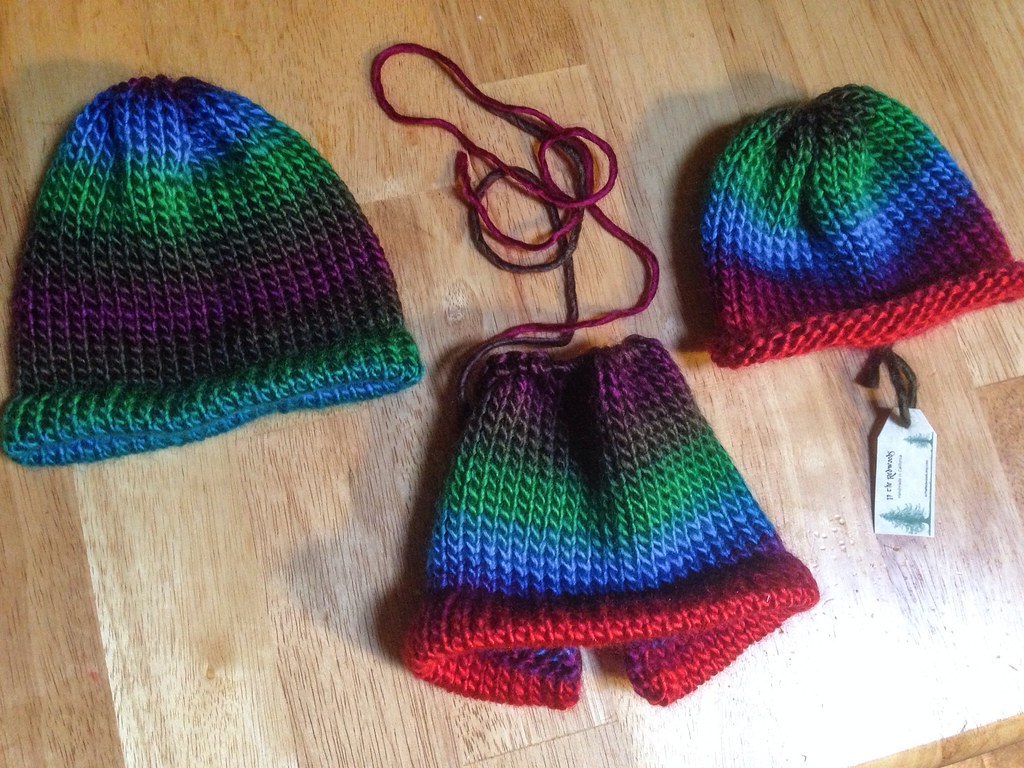
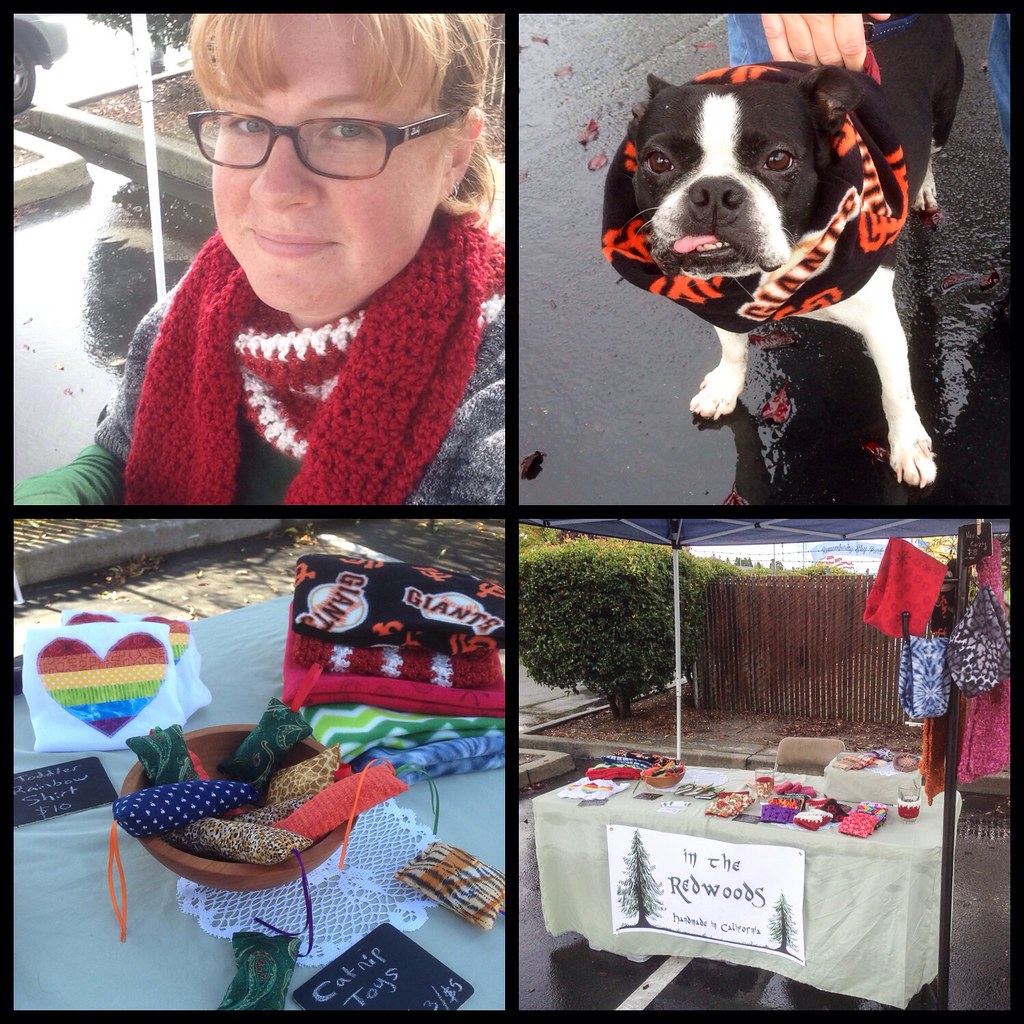
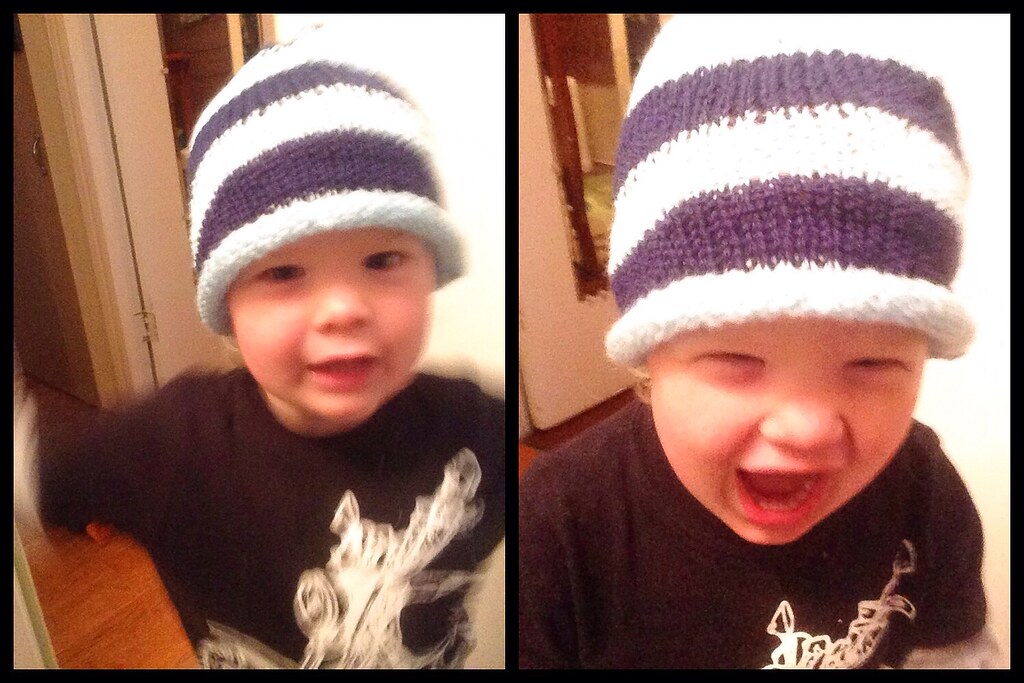
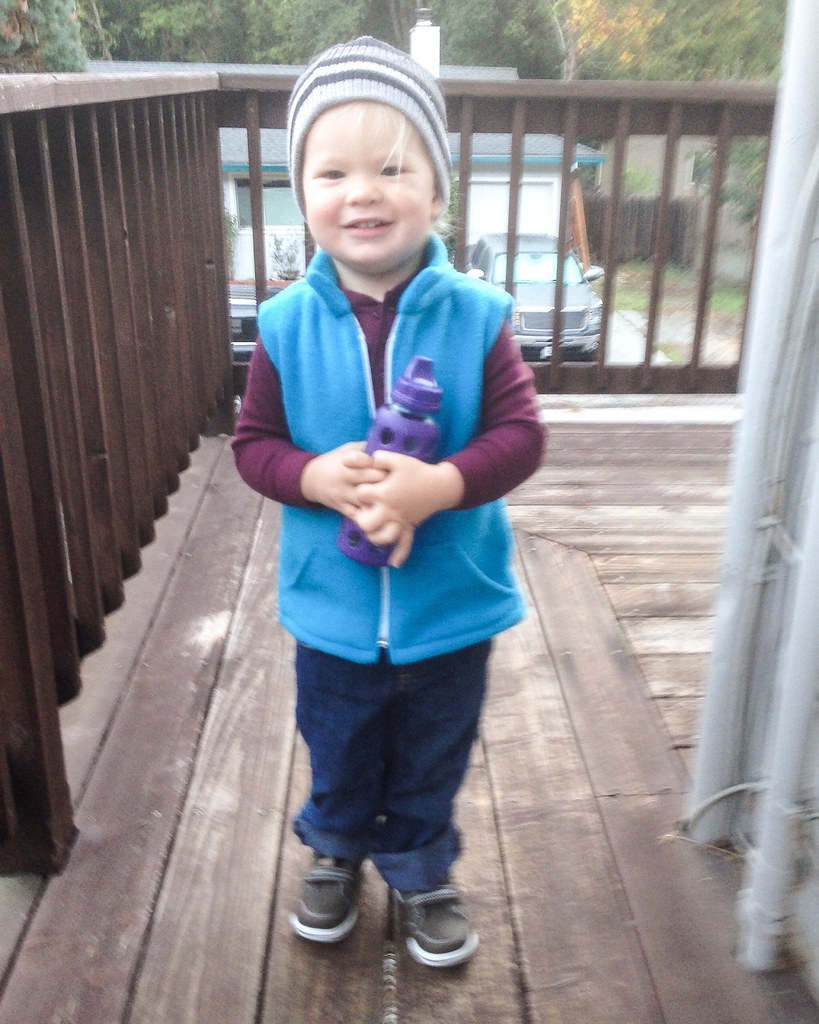
I made these for the lady that watches H when I'm at work- one for one for each of the kids there.


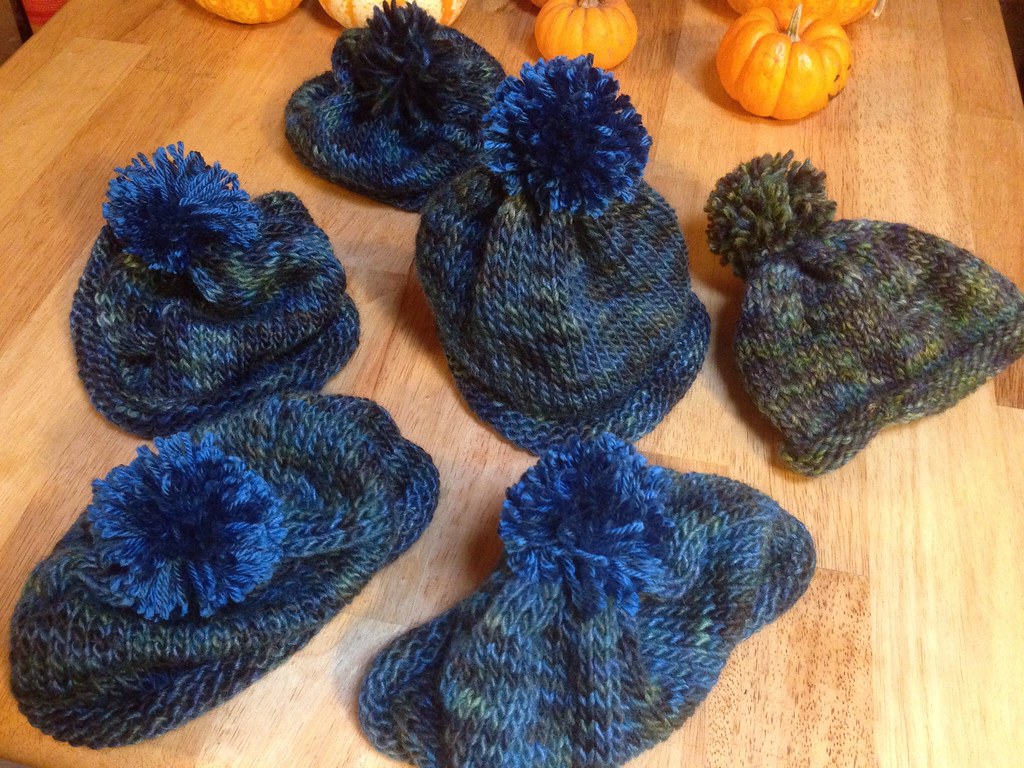
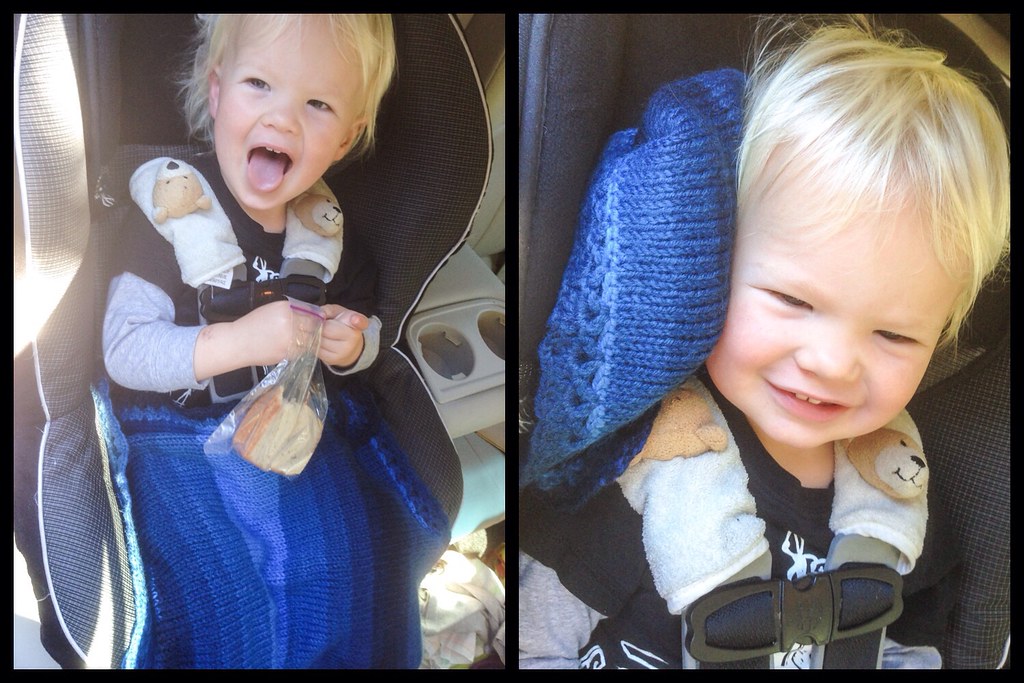
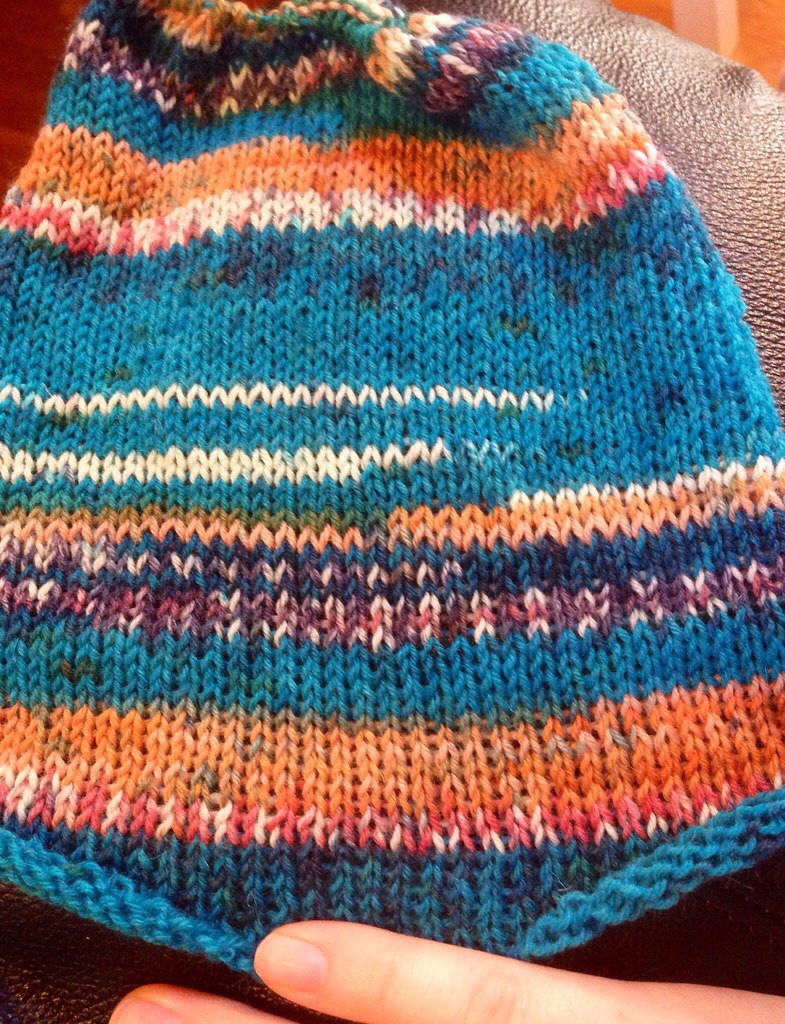
Self striping yarn is so fun, and I love seeing how the colors come out!


Toddler Rain Jacket

I've been looking for a rain jacket for H. We're in the middle of the biggest storm in many many months. See, the last time we had any kind of rain, (sprinkling for a day and a half) I made him a lovely little flannel-lined laminated cotton jacket. I stayed up late finishing it, but I should have checked the weather report - no more rain!

Fast forward to now, and of course it doesn't fit anymore! D'oh. I knew I didn't want a repeat, but he needed something to put over his clothes for puddle stomping.

I found this adult vinyl slicker at the thrift store for $2. It has a logo of something sporty, which got mostly cut off (you can see it under his left arm in the lower right "after" pic.)

We tested it out as-is and it was quite hilarious. The hem touched the ground and he got his boot stuck in the elastic.


Here are the steps I took to reconstruct it, and it went pretty fast as it's a pattern and shape I've sewn before. I knew it wasn't going to be 100% waterproof, but I kept the hood intact, and the back is one piece, so it should do a pretty good job.

First I cut the elastic hem off so I could see the shape. Then I cut the hood off and estimated the height (removed pull cord.) I measured his arms and I was going to use the original gathered cuffs, but decided to re-sew them without elastic, so I traced a pattern piece and made them a bit roomier. The goal was to have it go over clothes, including a warm jacket if needed. Then I cut the front, including removing the zipper and the front pouch. I traced the arm holes from a pattern, and sewed it all up with a long stitch.

Someday I'll make him a nicer one that's lined and waterproof, but this is pretty good for a quick project.


We also got our Christmas tree this last weekend, and H got to help pick it out.


And he enjoyed the spiced cider.


Saturday, November 8, 2014

Craft Faire and Knitting Machine

I did it! I brought my shop In The Redwoods to a craft faire for the first time.


The first day was POURING rain, and some of the vendors opted to stay home. It was cold, but I was working on a red scarf, so I wore it to keep warm while I crocheted the edges.

One of my most popular items was the neck cozies, and a lady bought one for her dog. Isn't it cute?? All in all, it was a good experience, and I'm excited to do more, and to get more things loaded to my etsy shop.

Then I got myself a tool that I've been wanting off and on for many years. A knitting machine!


I read a bunch of reviews, good and bad, and decided to start with low expectations. I probably wouldn't get it to work smoothly right away, right? Well, I've been taking my time getting to know the basics, and other than a couple hiccups, I LOVE it.

After the sample piece I made this red hat for H. It's a little big, and he likes to pull it over his face and thinks it's hilarious. He's such a ham.


Then I made a wool blend lap blanket for the car (on the machine at top.) It's a little smaller than I expected, but works great for a toddler. He loves it :) I crocheted a border around the edge. It's about 18-19 inches, and just one skein of yarn.


This is my experiment with stripes. He was too hyper and wouldn't stand still for a picture :)


I've also made a black wool beanie that was an attempt at adult size, which H has taken possession of, and then I tried some sock yarn with the smallest plate (smallest stitches.)


Unfortunately my attempts to put heavy weight yarn in haven't been as successful, but thankfully it's the smaller yarn that is harder for me to knit or crochet by hand.

Not too bad for three evenings and a morning of knitting. I'm looking at my yarn stash in a whole new light!

Eventually I'll get around to making sweaters with it, maybe.

Wednesday, October 29, 2014

Holiday Craft Faire

In The Redwoods will be there! Look for my booth with a blue canopy tent.


Monday, October 27, 2014

Craft Fair

I'm SO excited to say that I will be vending at my local holiday craft fair for the first time. It's at the Scotts Valley Senior Center this weekend, November 1 and 2.

I've been sewing like crazy for the last few weeks. Also still trying to finish our Halloween costumes, but I took a break from those last night to make a vest for my little guy.


Isn't he cute? We were running late to daycare, but I got a quick blurry shot. It's fleece, and lined with an old flannel receiving blanket of his. Super warm!

I'm also making neck cozies out of the fleece, but decided that color was more suited for toddler clothes.


Speaking of Halloween, we started a countdown calendar with little prizes for 13 days leading up to it. It was a panel kit, and very easy to sew.


And no Halloween is compete without a trip to the pumpkin patch :)


Tuesday, October 7, 2014

Celery Growing

I've seen a few articles lately about growing food from, well, groceries essentially. The celery sounded easy enough, so I gave it a try.

I stuck the base in some water, and just a couple days later there was quite a bit of growth.


About a week later I put it in a pot with soil up to the top of the original base. Now it's really taking off! I'm looking forward to having a couple small stalks ready at a time. Really that's all I use at once, so it's hard to use up a whole entire bunch of it.

Plus it's a pretty plant :)


Tuesday, September 23, 2014

Hello, Fall!

Apparently there's some debate as to whether today or yesterday was the first day of fall. Either way, the season of pumpkins, spices, and Halloween is definitely here now!

 
I made these lovely little flowers from coffee filters. They were so fun to make! I had some brown basket-style filters just sitting around because I use the cone style filters now

I used Kool-Aid to dye the filters. Mostly strawberry flavor, with some petals in black cherry. It was very easy, I just soaked them in cold water and Kool-Aid mix for about 15 minutes, squeezed them out (wear gloves!) and laid them on paper towels to dry. Whenever I play with Kool-Aid dye, I like to use Knitty's handy post as a color guide. I knew the brown paper wouldn't turn out exactly the same, but it helped to have a guide anyway. And the stems are dried grape vines from our property.

For putting the flowers together, I found this great video tutorial at Two Shades of Pink. Instead of masking tape, I used scotch tape (closest thing I could grab,) and in the end I was glad it was clear. I taped them to the twigs. If you look close enough you can see the tape, but it isn't too visible.

Little H really likes the grapes. Every time we walk by he says "pick it!" and wants to go eat them.

 
H's Grandma knit these little socks for him. I love the fall colors! He's pretty excited to wear them, too. Hoping we'll get some cooler weather soon so he can.


Happy fall! Enjoy the pumpkin everything :)

Friday, September 19, 2014

Baby Doll Bottle

My son likes to pretend-feed all his stuffed animals, dolls, and even the trucks and tractors sometimes.

So I made him a play baby bottle. Look at the excitement on his face!


He knew what it was for immediately, even when I was only halfway done with it.


Of course he has to 'taste' it himself, too.


Friday, March 14, 2014

Baby booties

I wanted some warm slippers or boots for baby H, so I crocheted some. I didn't have a pattern, but I used the soles of some other shoes for a size guideline.

They're perfect for playing on the deck when it's a little chilly. Of course when I tried them on him this morning, he pointed outside and said "door!" So we put a jacket on over the jammies and took them for a test drive :)


Nice and cozy!


Hoodie time, because it's about 40 degrees. I made that jacket too, just converted a pattern with a zippered jacket into a pullover.


I used fabric paint for the grips, and ran them across every couple rows. Now that he's been wearing them a bit, they're sinking into the stitches, so next I'll try running another set of lines going up and down. Overall I'd call them a success!


Saturday, March 8, 2014

Baby onesie to shirt conversion

In other news, I finally put some things in my Etsy shop.

Baby H is getting to that size where onesies aren't as practical, but he still fits in them. I got this one with as a hand-me-down, and I liked it so much I wanted to make it a tshirt so H would wear it more.

Hand-me-downs from other moms have been so incredibly helpful. It's nice to know families with kids both older and younger, so we can pass them on when he's done with them.

I learned the hard way that onesies don't always work as shirts, because they can be tighter around their tummy, and also shorter once you cut them, so keep that in mind when deciding which ones to cut.


I wanted to get every last bit of length here, so I pulled back the binding just on the sides.


The stripes made it easy to get a straight line.


Then I did a simple little hem, and it's done! I had grabbed orange thread, assuming that would work, but when I pinned the hem I realized it was on the light blue stripe and had to change it.


Looking good!


Happy boy, already learning to walk, and getting harder to photograph :)